How to Debug Shopify Theme Issues: A Practical Guide
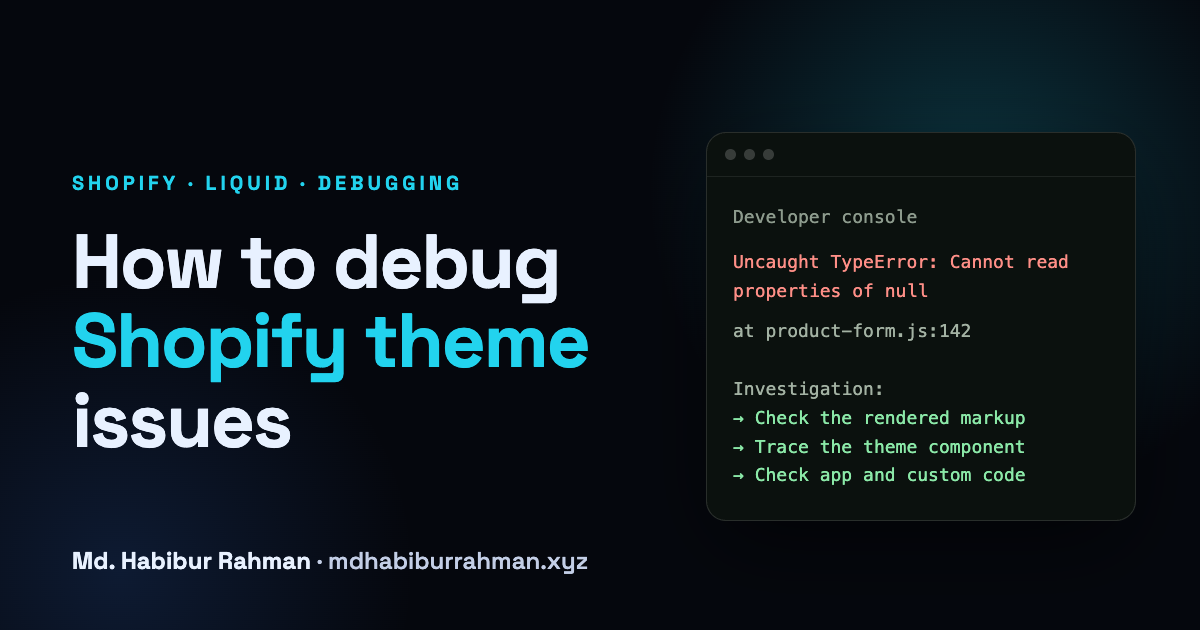
When a Shopify storefront breaks, the first line of code that looks suspicious is rarely the best place to start. The problem might be Liquid, rendered HTML, CSS, JavaScript, theme configuration, an app, or custom code. The difficult part isn't changing the code. It's identifying which layer is actually failing.
Key takeaways
- Find the source first. Don't change code until you have evidence about where the problem lives.
- Think in layers. Separate Liquid, HTML, CSS, JavaScript, configuration, apps, and data instead of treating the storefront as one system.
- Use the browser early. The DOM, Console, Network panel, and computed styles often tell you more than reading Liquid first.
- Isolate variables. Recent changes, app integrations, custom code, and clean-theme comparisons can narrow the cause.
- Verify the fix. A bug isn't really fixed until related flows still work.
A Shopify store can look like a simple frontend, but debugging a theme is rarely as simple as finding one broken line of code.
A product page might suddenly look wrong after an app installation. A section may behave differently on one template. A button may render correctly but stop working because of a JavaScript error. Sometimes the theme code is fine and the actual problem comes from an app, custom code, theme configuration, or product data.
That's why I prefer a structured debugging process instead of immediately editing whatever code looks suspicious.
It should be “Where is the problem actually coming from?” Finding the source first usually makes the eventual fix smaller, safer, and easier to explain.
Think in layers before you think in files
One of the easiest mistakes in Shopify debugging is starting with the file name instead of the failing layer.
A storefront problem usually crosses several layers:
For example, if an add-to-cart button doesn't work, the problem might be in the rendered markup, the JavaScript handling the interaction, the product or variant data, theme configuration, or another script interfering with the page.
The goal isn't to inspect everything every time. It's to identify the most likely layer from the symptom and collect evidence before moving deeper.
Common symptoms and where to look first
Use this as a starting point. It tells you where to investigate first, not what the final answer is.
| What you see | Look here first |
|---|---|
| Layout broke after an app installation | App embeds, app blocks, theme app extensions, injected CSS/JavaScript, and recent theme changes |
| A button or form does nothing | Console, rendered markup, event handling, and Network requests |
| Something is missing on one page only | Template assignment, section configuration, and blocks |
| Works on desktop but breaks on mobile | Responsive CSS, media queries, and mobile-specific JavaScript |
| The page feels slow | Images, scripts, app assets, network requests, and expensive Liquid rendering |
| Your change doesn't appear | Confirm the theme and preview environment you are actually testing |
The Shopify theme debugging workflow
1. Reproduce the problem
Before changing code, reproduce the exact problem. If someone says “the product page is broken,” that isn't enough information to start editing the theme.
Find out:
Where?
Which page, product, collection, or template is affected?
When?
Did the problem start after a theme, app, or code change?
How?
Does it happen on desktop, mobile, or only a particular browser?
Scope?
Does it affect every page or only one configuration?
Reproduction gives you something concrete to investigate instead of turning debugging into guesswork.
2. Confirm the theme and preview
Shopify stores can contain multiple themes. The theme being edited isn't necessarily the theme customers are currently viewing.
Before debugging, confirm:
- Which theme is currently published?
- Which theme contains the reported change?
- Are you testing the correct preview?
- Does the problem exist on the live storefront or only in preview?
If you're working with several theme copies, use the Shopify admin or Shopify CLI to identify the theme you are working against. Don't rely on assumptions about which copy is being rendered.
3. Inspect the browser before editing Liquid
Not every Shopify theme issue is a Liquid issue. If something looks visually incorrect, open your browser's developer tools and inspect the affected element.
Check the rendered HTML, computed styles, JavaScript Console, and relevant network requests before assuming the Liquid code needs to change.
For example, if a button is invisible, the HTML might already be correct. The actual problem could be a CSS rule:
/* The markup may be correct, but this hides it */
.product-button {
  display: none;
}
Changing Liquid in this situation would not solve the actual problem.
You can also quickly check whether an element exists:
const button = document.querySelector('.product-button');

console.log(button);
If the result is null, you now have evidence that the selector did not find the expected element in the rendered page. That could mean the element is not rendered, the selector is wrong, the markup differs on that page, or the element hasn't been added to the DOM yet.
4. Check the JavaScript Console
If an interactive feature isn't working, check the browser Console. Look for errors when the page loads and when the affected interaction occurs.
This is especially useful for cart drawers, variant selection, product forms, filters, and other dynamic interfaces.
A JavaScript error earlier in the execution flow can prevent another feature from working later. Don't just search for an error that mentions the broken button.
For example:
Uncaught TypeError:
Cannot read properties of null
Don't immediately change the JavaScript. First find which element or value the script expected, then check whether it exists in the rendered page.
5. Check the Network tab when data or requests are involved
The Network panel is particularly useful when the storefront appears to react to an interaction but the expected request never happens, fails, or returns unexpected data.
For example, with an add-to-cart issue, check:
- Did a cart request happen at all?
- What URL and method were used?
- What data was sent?
- What status did the request return?
- What did the response contain?
This helps separate a JavaScript problem from a request or data problem. Keep in mind that some storefront behavior can also be handled entirely in client-side code, so the absence of a request is itself useful evidence rather than proof of one specific cause.
6. Trace the Shopify rendering path
When the issue involves markup, content, or Liquid logic, trace how the affected component is rendered.
Product page
  ↓
Product template
  ↓
Main product section
  ↓
Product form / snippet
  ↓
Rendered HTML
  ↓
CSS + JavaScript
The exact structure varies between themes, but the principle stays the same: start at the page where the issue appears and follow the components responsible for rendering it.
Shopify themes commonly organize this work through layouts, templates, sections, blocks, and snippets. Understanding that structure prevents you from searching the entire theme randomly.
If you are still building that mental model, my Shopify theme developer roadmap walks through how these pieces fit together and what to learn in which order.
7. Inspect the actual Liquid data
When you're not sure what data Liquid actually has, inspect it instead of guessing.
Temporarily add something like this to the relevant section or snippet:
<pre>{{ product | json }}</pre>Reload the page and inspect the output. This lets you see the values available from the product object at that point in the template.
Raw object output can expose information you don't want visitors to see. Prefer an unpublished or development theme, and remove the debugging output when you're finished.
8. Check section settings and blocks
Sometimes the code is working exactly as written, but the theme configuration produces the unexpected result.
If the issue only happens on one section instance or one page, compare its configuration with the code's expectations.
Content
Is the expected text, image, product, or collection selected?
Visibility
Is the component configured to appear in the current context?
Blocks
Are the expected blocks present and configured correctly?
Settings
Could a section or theme setting be changing the behavior or appearance?
9. Isolate apps and custom code
This is where Shopify debugging can become more complicated. A storefront can contain theme code alongside app blocks, app embeds, theme app extensions, injected assets, and custom scripts or styles.
If something worked before and stopped after a change, ask:
Check recently installed apps, theme edits, custom JavaScript, custom CSS, app blocks, app embeds, theme app extensions, injected assets, and other recent storefront changes.
If the app uses an app embed, temporarily switch that embed off in the theme editor and test again in a preview. If the problem disappears, you have isolated one possible integration path.
That does not prove that the entire app is responsible. An app can use multiple integration mechanisms, and a problem may also involve theme code or another integration. Continue investigating based on the evidence.
10. Use a clean theme as a control
If a feature works in a clean or minimally modified theme but fails in the affected theme, you've narrowed the investigation.
The difference could be custom code, configuration, styling, JavaScript, or an integration.
Different themes can have different markup, JavaScript, settings, and app integrations. Use the comparison to narrow the search, not to declare the original theme “broken.”
11. Use Shopify's development tools
If you're developing themes locally, Shopify CLI can make the workflow more systematic. Theme Check can identify syntax errors, Liquid issues, and other code-quality or best-practice problems in theme code.
# Preview your local theme against a store
shopify theme dev

# Run Theme Check from a Shopify theme project
shopify theme check
Theme Check is static analysis, so it won't find every storefront bug. A theme can pass Theme Check and still have a runtime JavaScript error, incorrect configuration, or an app integration problem.
If you're working in VS Code, Shopify's Liquid tooling can also provide diagnostics and editor support while you work. Use these tools alongside browser DevTools rather than relying on static checks alone.
For performance issues, use browser performance tools and Shopify's available theme performance tooling to identify expensive rendering, scripts, assets, and network activity rather than assuming that slow pages are caused by Liquid alone.
12. Make the smallest reasonable fix
Once you've identified the cause, change as little as necessary.
Avoid fixing an isolated CSS issue with a global override if a component-level change is enough. Avoid changing Liquid when the problem is JavaScript. Avoid modifying several files at once when one targeted change will solve the problem.
A good fix should answer:
What caused it?
Can you explain the actual source of the problem?
Why does this fix work?
Can you explain the relationship between the change and the issue?
What could it affect?
Could the change alter another page, component, device, or integration?
Three debugging examples
These are illustrative scenarios, not case studies. The exact details will differ between themes, but the debugging method carries over.
Example 1: The add-to-cart button does nothing
You click the button on a product page and nothing happens. Resist the urge to open the product section and start editing.
- Reproduce it. Does it happen for every product or only one? Only for a particular variant? On both desktop and mobile?
- Watch the Network tab. If no cart request appears, investigate the Console, event handling, and form markup. If a request is sent and returns an error, inspect the request payload and response.
- Read the first meaningful Console error. If a script expects an element that isn't present, inspect the rendered DOM and the selector used by the script.
- Check product and variant data. If the request reaches Shopify but is rejected, inspect the response and confirm that the expected variant and other required values are being submitted.
Several different causes can produce the same storefront symptom. The browser helps distinguish between markup, JavaScript, and request/data problems before you change Liquid.
Example 2: Something broke after installing an app
A product gallery or sticky bar behaves differently after an app was installed. The timing is a clue, but it isn't proof.
- Check the Console. Look at the source of the error and the file that generated it.
- Identify how the app is integrated. Check app embeds, app blocks, theme app extensions, injected assets, and any theme changes made during installation.
- Isolate the integration. If the app uses an app embed, turn that embed off in a preview and test again.
- Look for overlap. Two scripts may manipulate the same element, or CSS from one source may override styles from another.
- Report it with evidence. If an app is involved, send its support team the page, reproduction steps, Console error, and what you disabled.
Example 3: A component has disappeared
A banner or button is gone, but the Liquid looks correct. Check whether it is in the page at all.
- Inspect the element. If it is in the Elements panel, the markup rendered and the problem may be CSS or JavaScript.
- Read the Computed styles. Look for
display: none,visibility: hidden,opacity: 0, a height of0, or unexpected positioning. - Find the rule that wins. The Styles panel shows which rules apply and which have been overridden.
- Check the screen size. A media query may hide or reposition the element on mobile only.
Fix the rule that is actually causing the problem. Adding a stronger rule on top may hide the symptom while making the stylesheet harder to maintain.
Common Shopify debugging mistakes
- Editing Liquid before reproducing the problem. You end up changing code to fit a guess.
- Changing several things at once. You may fix the issue without knowing which change actually worked.
- Reaching for
!important. It can hide an immediate CSS problem while making the stylesheet harder to reason about. - Debugging on the live theme. Work in a development or unpublished theme and publish only after testing.
- Blaming an app without isolating it. Identify how the app is integrated and test the relevant integration path.
- Fixing only the reported symptom. The same code may be used on other pages, variants, devices, or components.
Test the fix, not just the symptom
A fix isn't finished just because the original error disappears.
If you've changed something on a product page, test the related product and cart flows. If you've changed responsive CSS, test multiple screen sizes. If you've changed a shared snippet, test every major component that uses it.
Shopify's development and preview workflows make it possible to test changes before they reach the published storefront. Use them.
Shopify theme debugging checklist
- Reproduce the issue
- Identify the affected page or component
- Confirm the theme and preview
- Check desktop and mobile behavior
- Find out when the issue started
- Identify recent changes
- Inspect the rendered HTML
- Check computed CSS
- Check Console errors
- Inspect relevant Network requests
- Trace the Liquid rendering path
- Check templates, sections, and blocks
- Check snippets and assets
- Check theme editor settings
- Check JavaScript and app integrations
- Compare against a known-good theme when necessary
- Test in an appropriate development or unpublished theme
- Run Theme Check where applicable
- Test the affected functionality
- Test related functionality
- Test mobile and desktop
- Confirm the fix doesn't create another issue
A simple decision tree
If you can't explain the cause, you're probably not finished
Shopify theme development isn't only about knowing Liquid syntax.
A good Shopify developer needs to understand how different parts of a storefront interact. A visual problem could be CSS. A broken interaction could be JavaScript. Missing content could be Liquid or configuration. A feature could be affected by an app, app block, app embed, custom code, or product data.
That's why my preferred approach is:
Reproduce → Inspect → Trace → Isolate → Fix → Verify.
The goal isn't to make an error disappear as quickly as possible. It's to understand what caused it, make the smallest reasonable change, and verify that the change didn't create another problem.
If you can't explain why the fix works, you're probably not finished debugging.